Roof, cupola
Click any image to view at full size
-
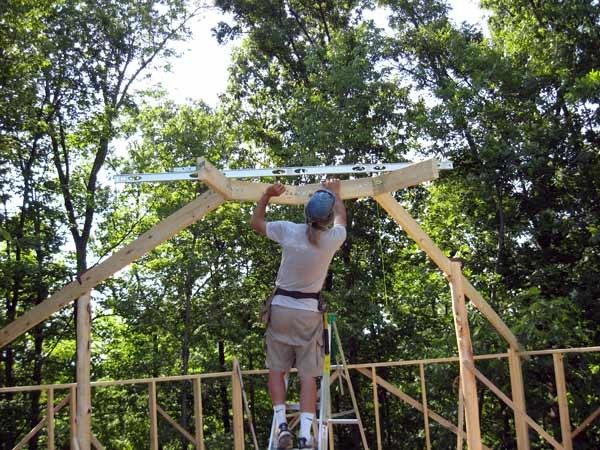
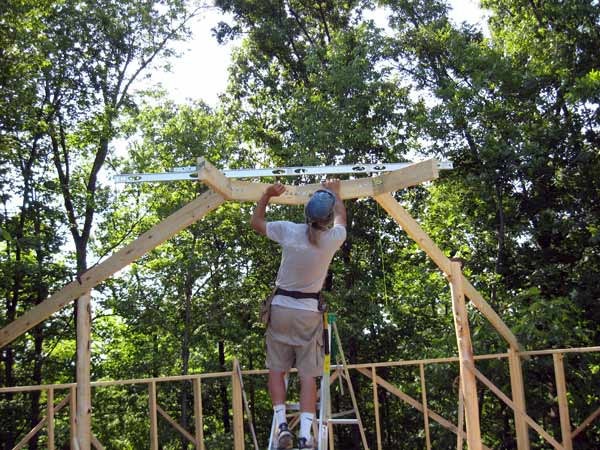
- Checking rafter position with a plumb bob

-

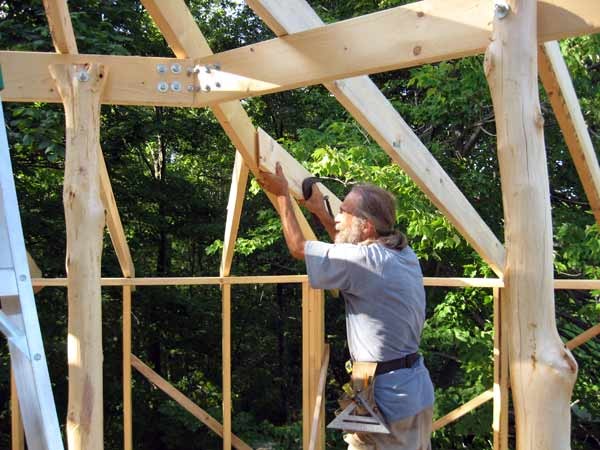
- Fine tuning the rafter position
-
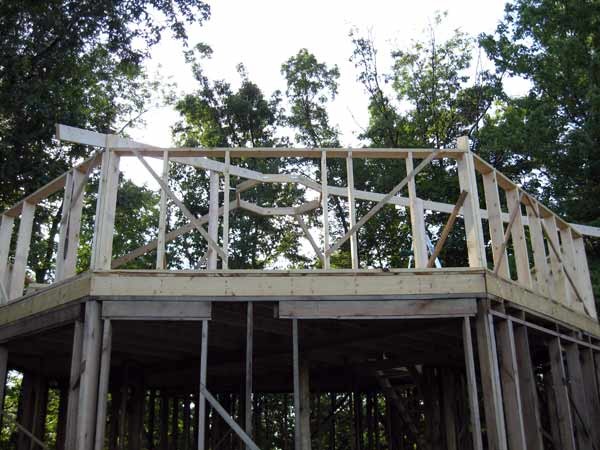
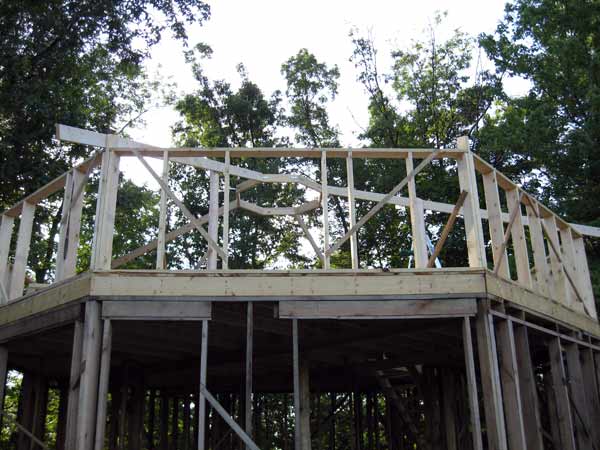
- Checking level
-
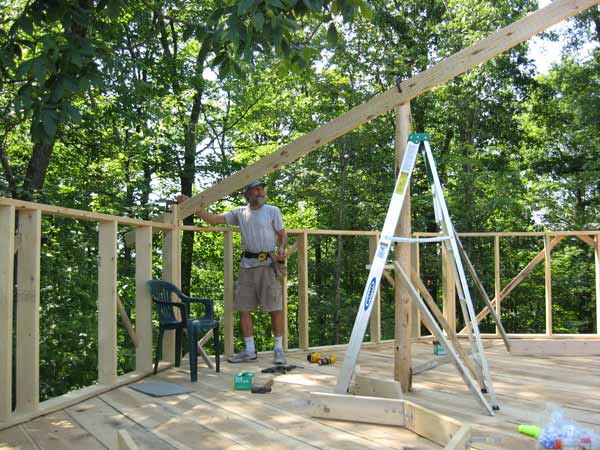
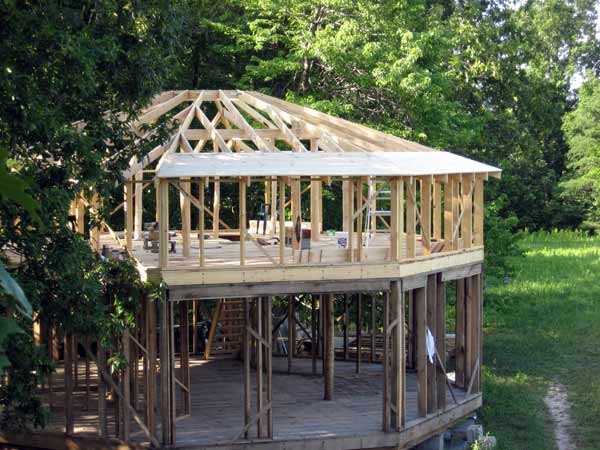
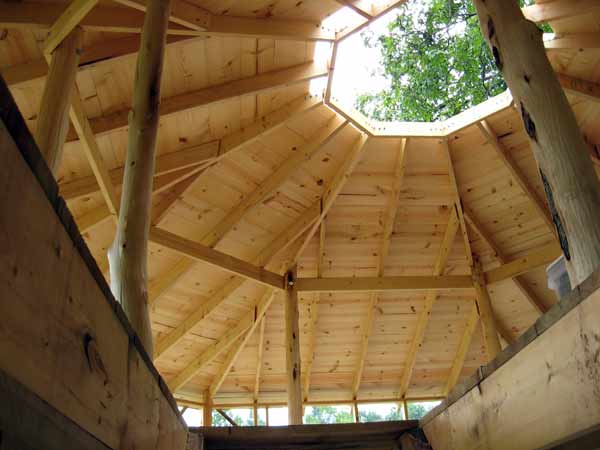
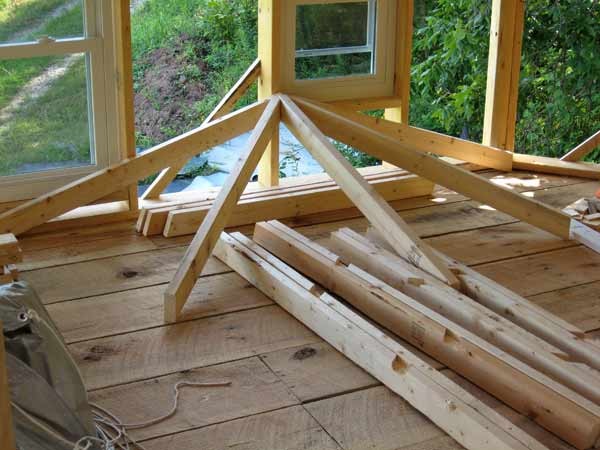
- First four rafters and cupola base in place
-
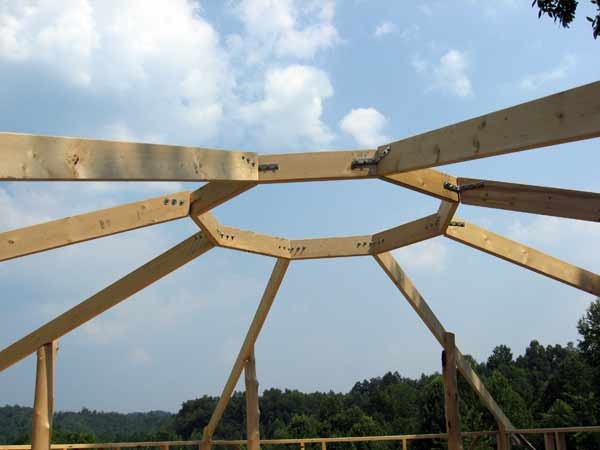
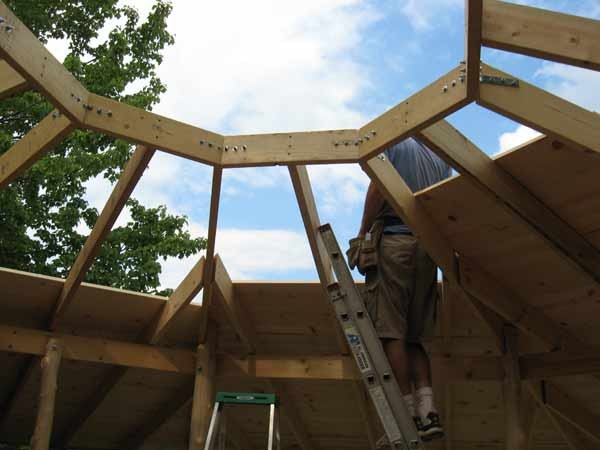
- All eight corner rafters in place

-
- Mid-rafter ring in place

-
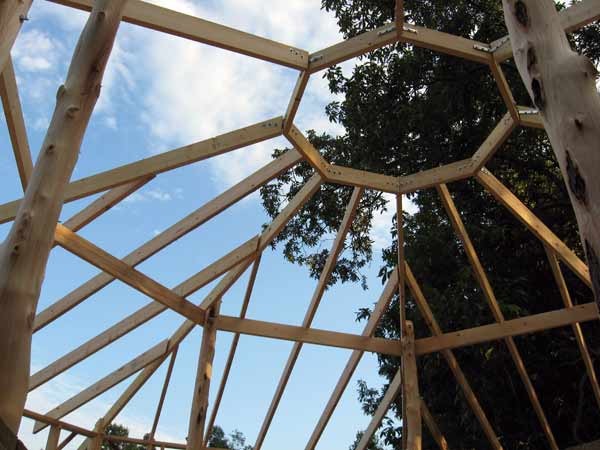
- ALmost done with rafters

-
- Placing last rafter

-
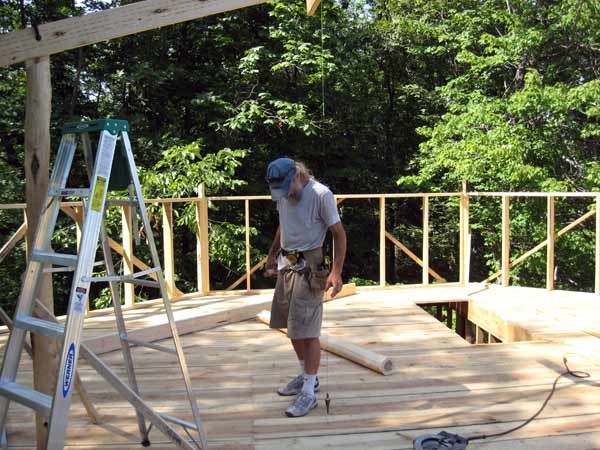
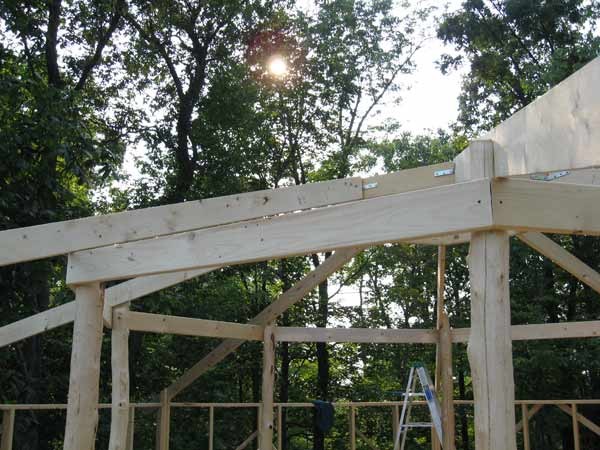
- Beginning to sheath the roof

-
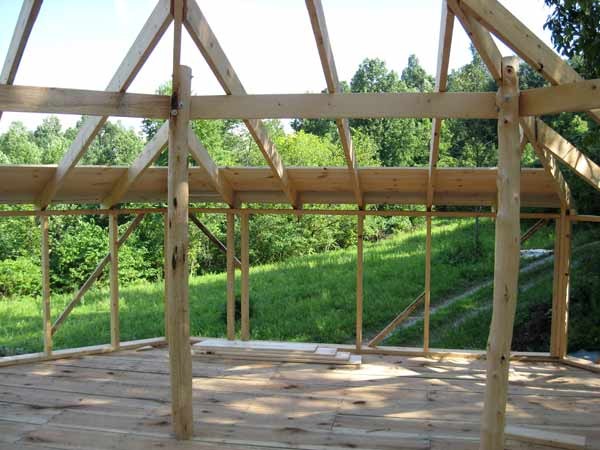
- View from second floor with partial roof sheathing

-

- Marking a board with an angle template

-
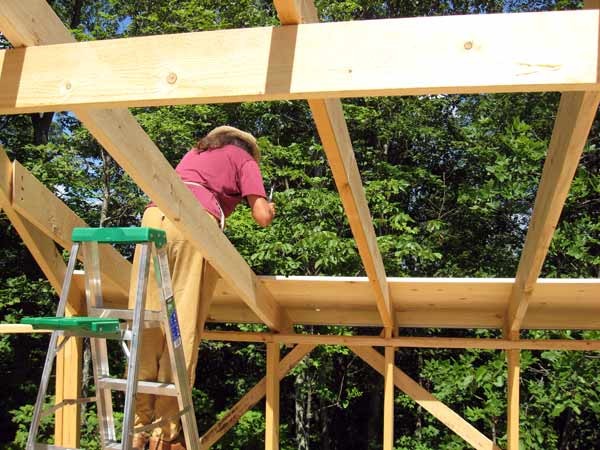
- Nailing another board

-
- Nearing the top of the main roof

-

- Underside of roof sheathing from stairs to the observation lounge
-

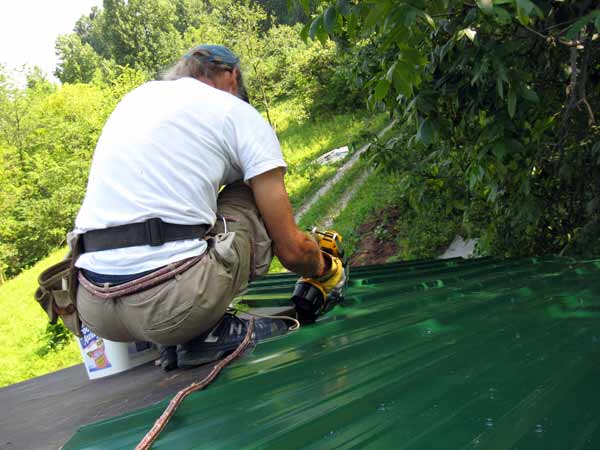
- Suited up for roof work in a makeshift safety harness

-
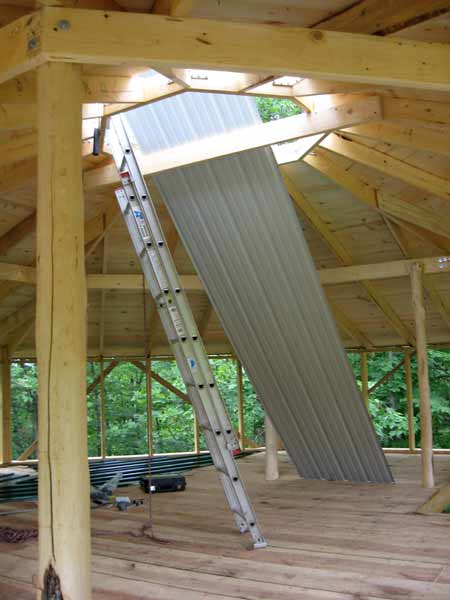
- Temporary board for tying the safety line and sliding tin onto the roof

-
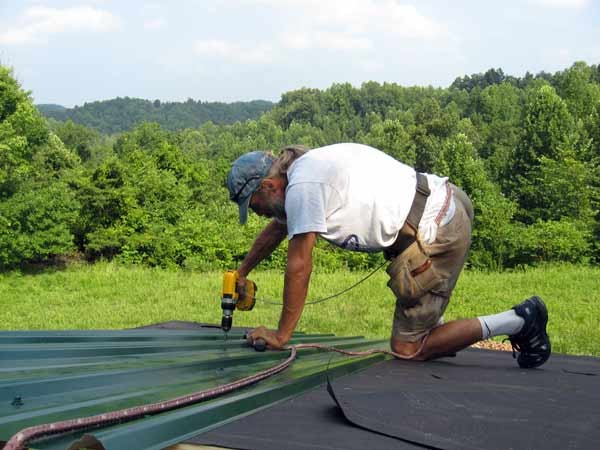
- Screwing in the first piece of metal roof

-

- Cutting metal roof in place with Turboshear attachment
-

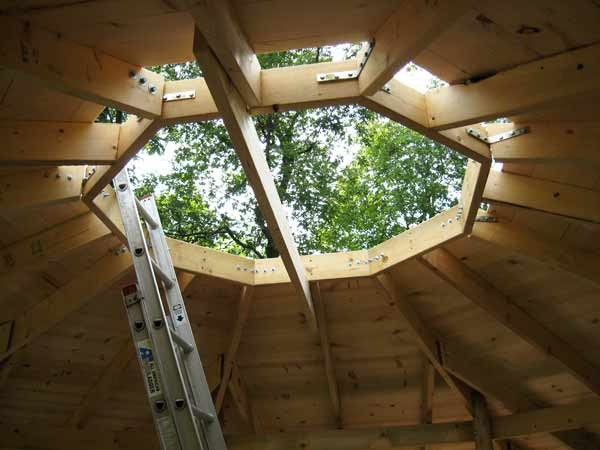
- Staging metal for lifting to roof. A cupola will be built over the opening once the main roof is finished
-
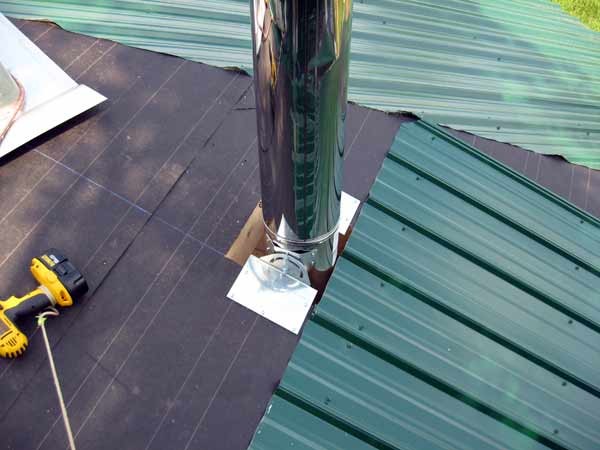
- First step for chimney installation: cut metal roof so it can overlap near the bottom of the storm collar

-
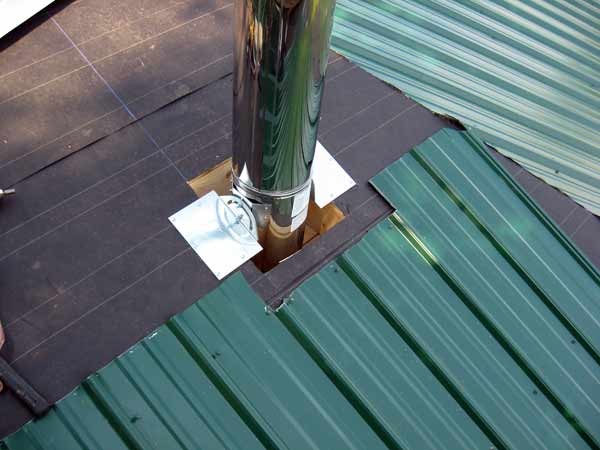
- Remove ridges to allow storm collar to sit flat

-
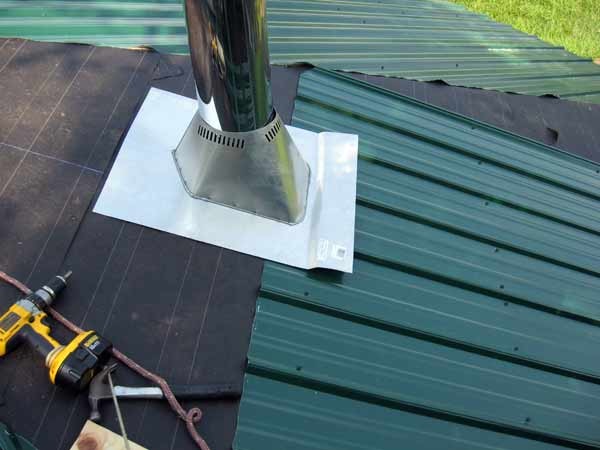
- Storm collar in place (storm collar must be bent to lay over ridges of lower pieces of roof metal)

-
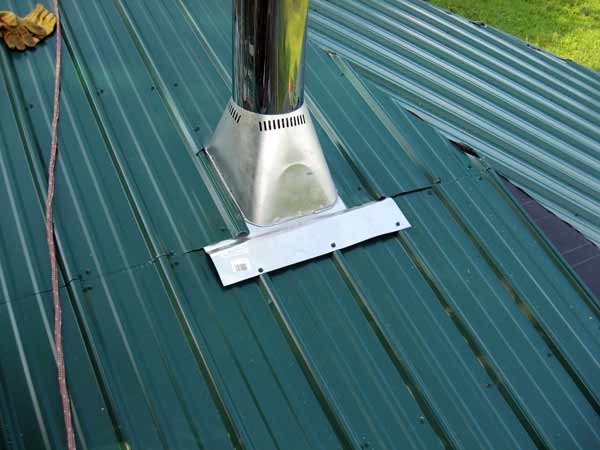
- Upper pieces of roof metal in place

-

- Beginning to install windows. Hole in roof where cupola will be is covered by a tarp
-
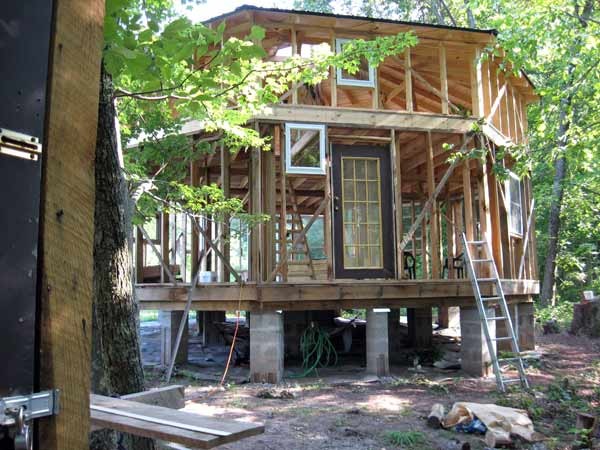
- North side of the house will need a porch soon

-

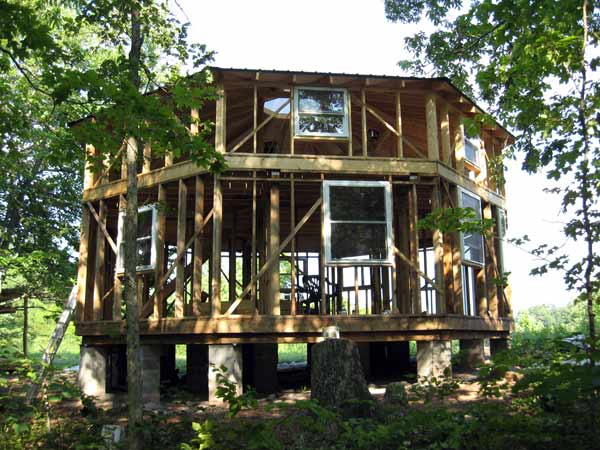
- West side of house from the woods
-
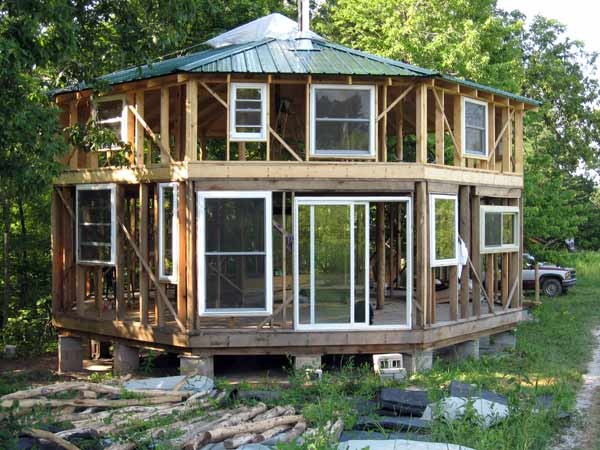
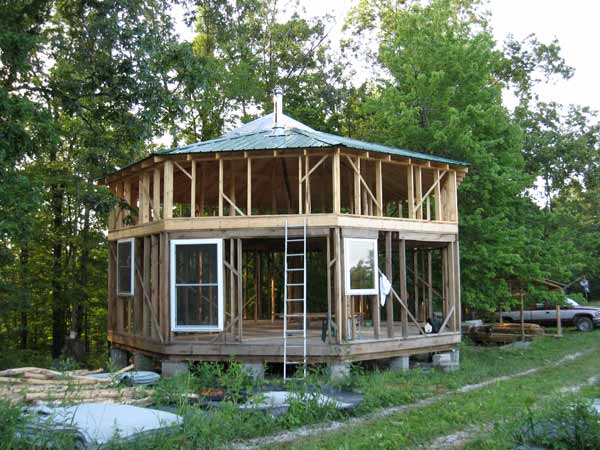
- View from the south

-
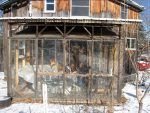
- Cupola kit

-
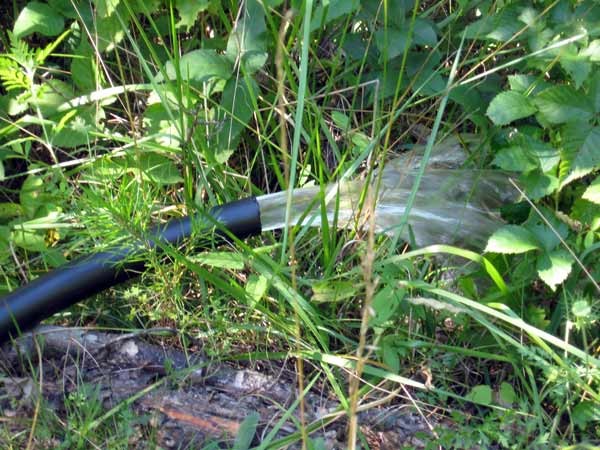
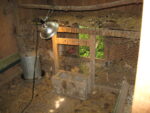
- Testing an old well

-

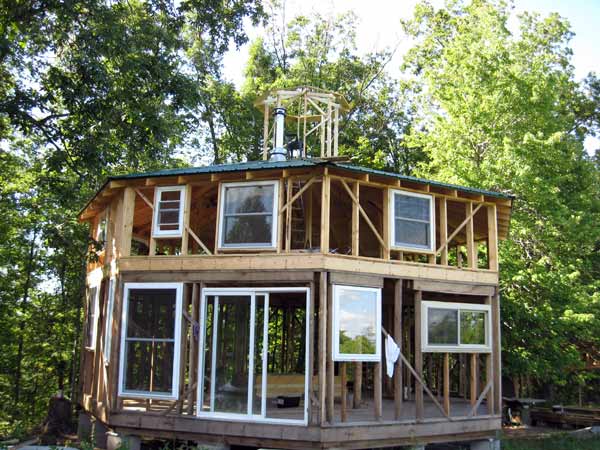
- Cupola taking shape
-

- Six of eight sections of cupola roof were finished from below through the other two sections