Cupola lowering, energy shield, summer kitchen
What’s a ‘cupola lowering?’ We originally built the cupola to fit tall second-hand storm windows that turned out to be inappropriate for the cupola (as they opened only from the outside), so we decided the only sensible thing to do was to lower the cupola to a more aesthetically pleasing height…
Click any image to view at full size
-

- Taping the seams of sheets of energy shield to help keep out wasps and asian lady beetles

-
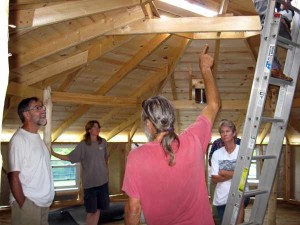
- Explaining the cupola lowering process to the volunteer “support” crew.

-
- The “support” crew held the cupola roof while Don cut to bottom two feet off each of eight studs.

-

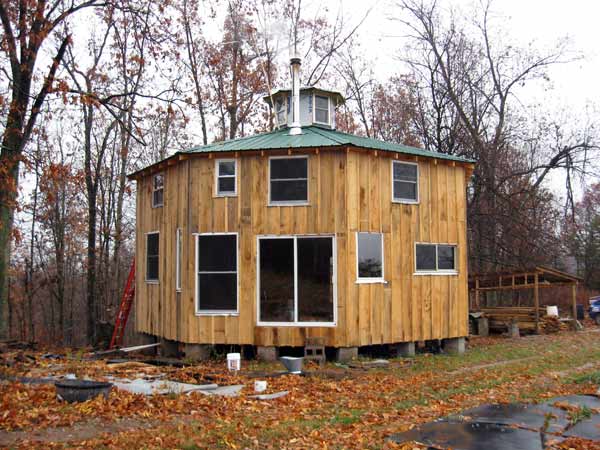
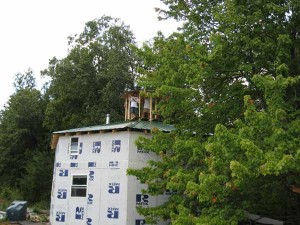
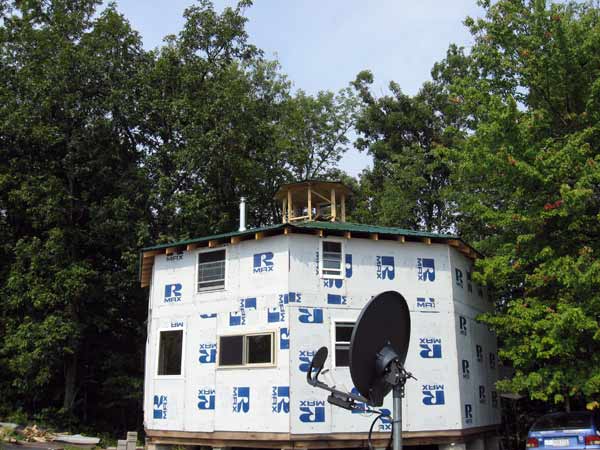
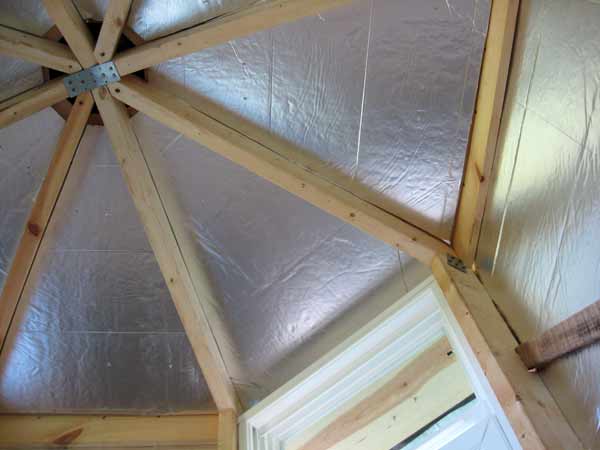
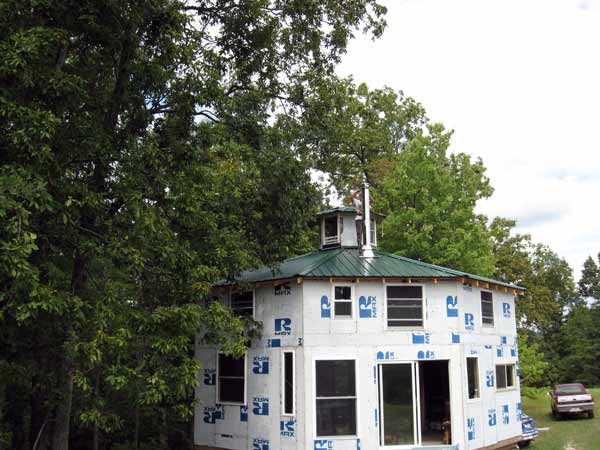
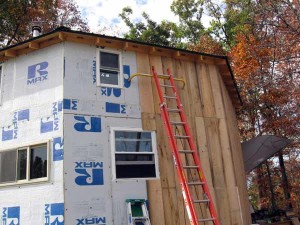
- The cupola after being lowered
-
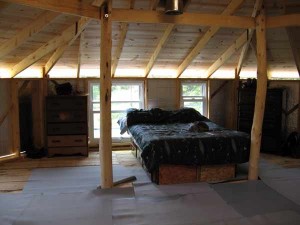
- Starting to move into the second floor, where we’ll live while finishing the first floor

-
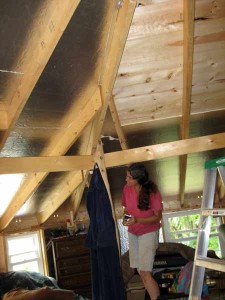
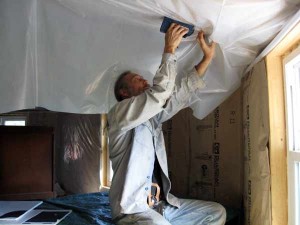
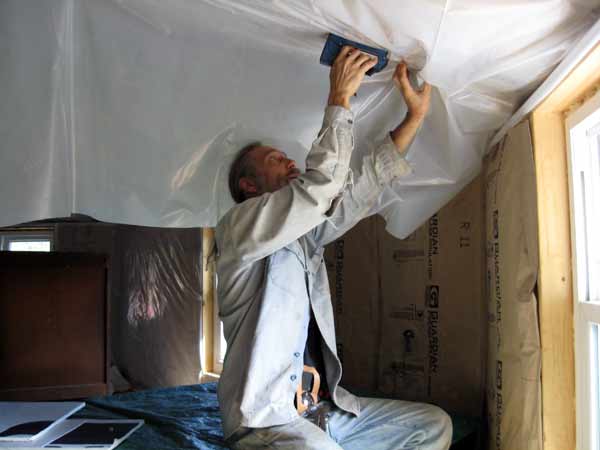
- Mary applying energy shield insulation under the roof

-
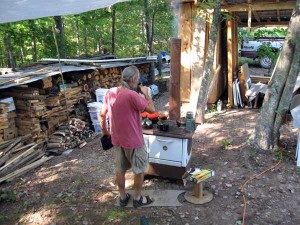
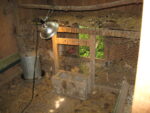
- Testing an old cookstove

-
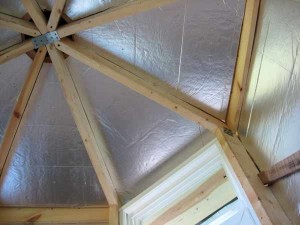
- Done with the first round of insulation
-
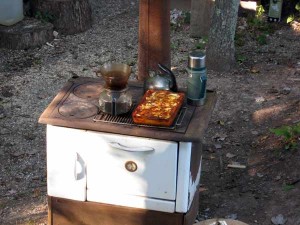
- Fresh baked lasagne

-

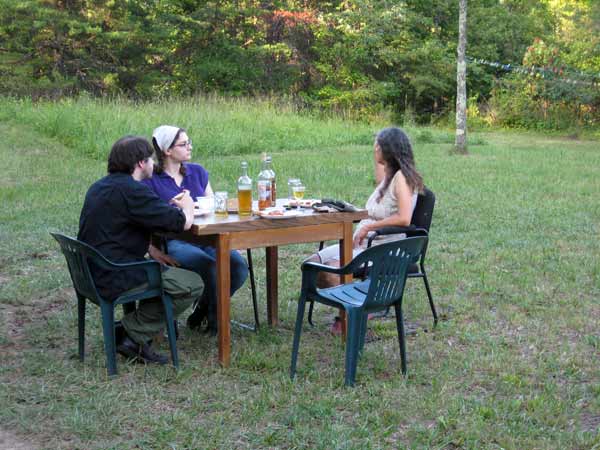
- Our first dinner guests…
-

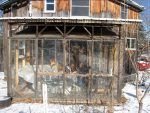
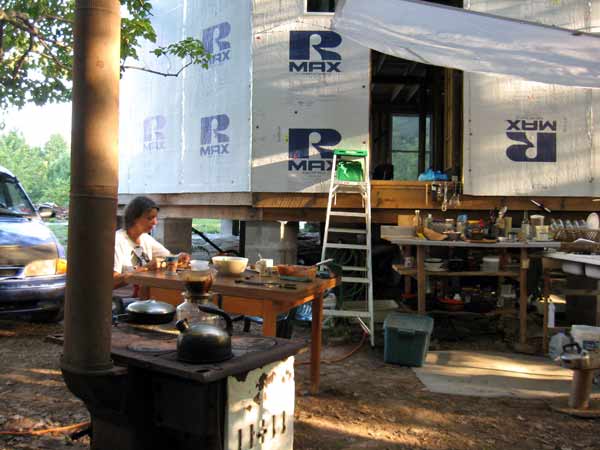
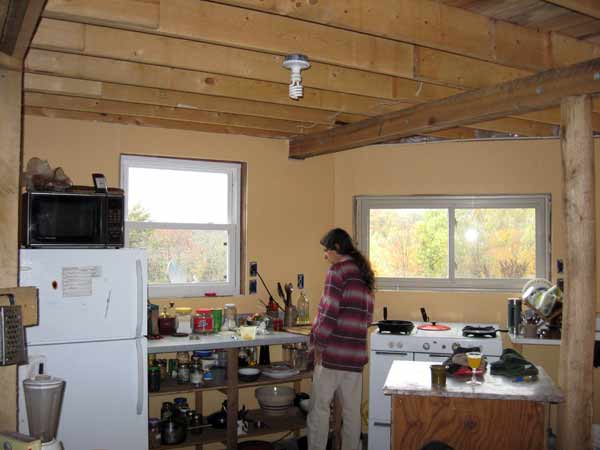
- Enjoying the summer kitchen
-
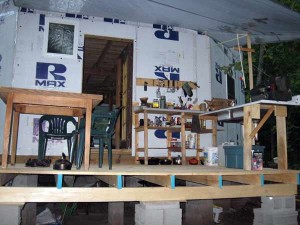
- Kitchen moved to porch deck

-

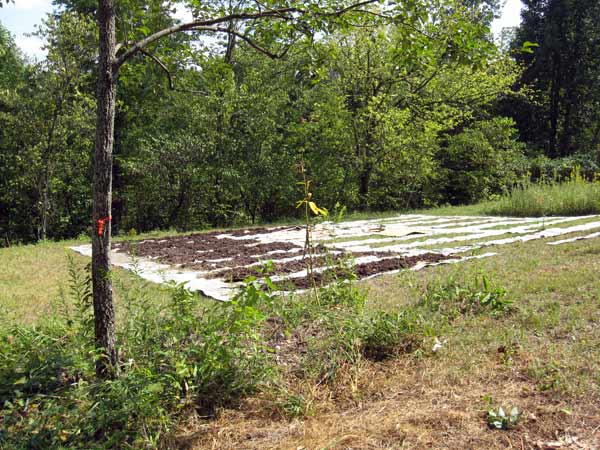
- Developing the garden for next year’s planting
-

- View from the south
-

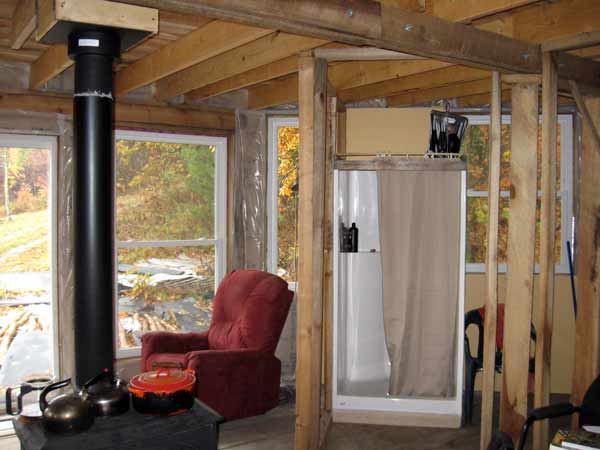
- Looking south at the shower yet to be installed

-
- Stapling up a vapor barrier
-

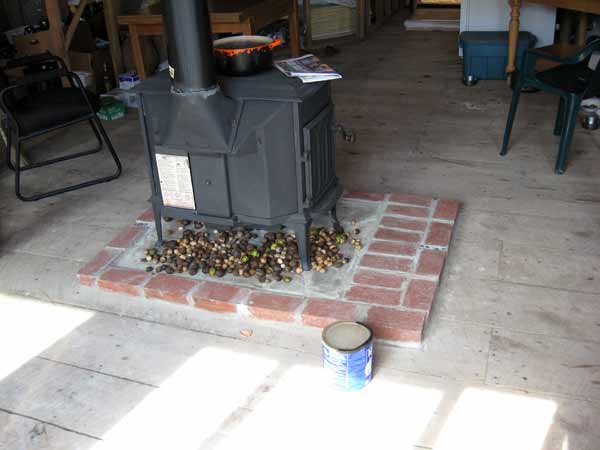
- Nut collection growing under stove
-

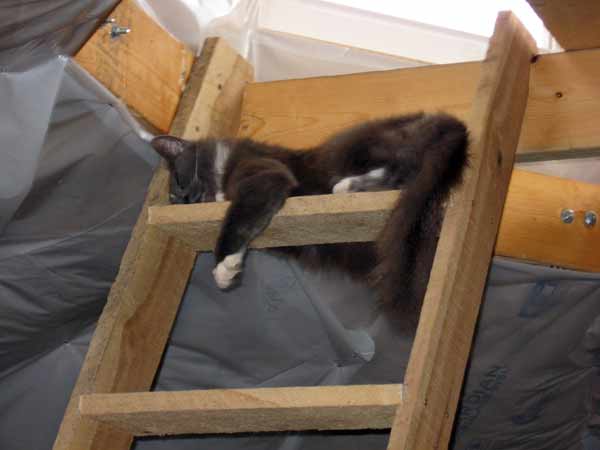
- Velvet Fuzziebutt sacked out on the cuploa ladder
-
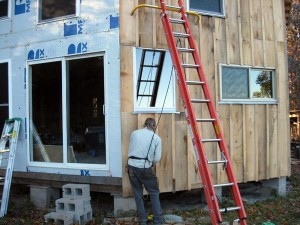
- Board and batton siding

-

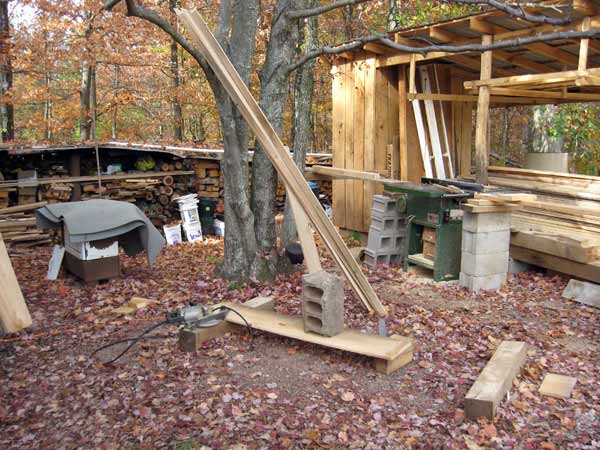
- Board prep plant
-

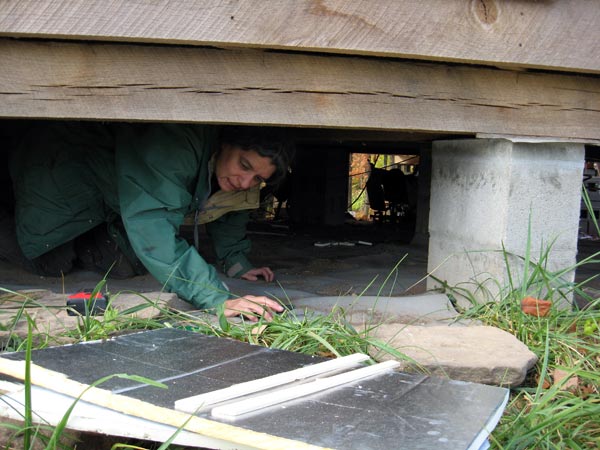
- Installing foam insulation under house
-
- Screwing in a batton strip

-
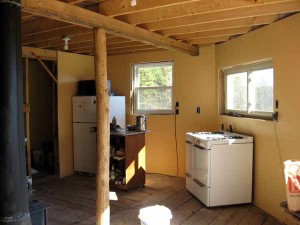
- Kitchen beginning to go in place

-
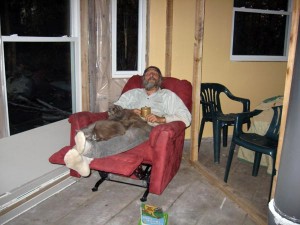
- Two cat coffee break

-
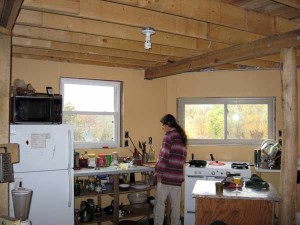
- Kitchen in use
-

- Shower in place
-
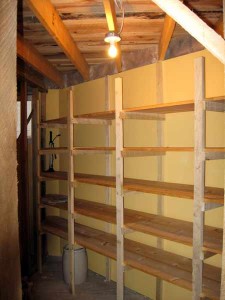
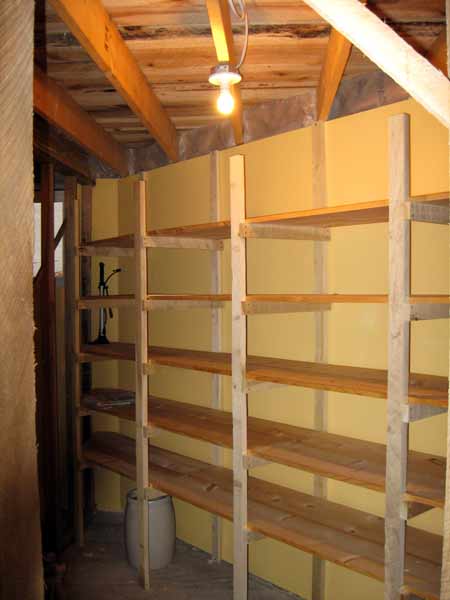
- Pantry shelves ready to stock
-

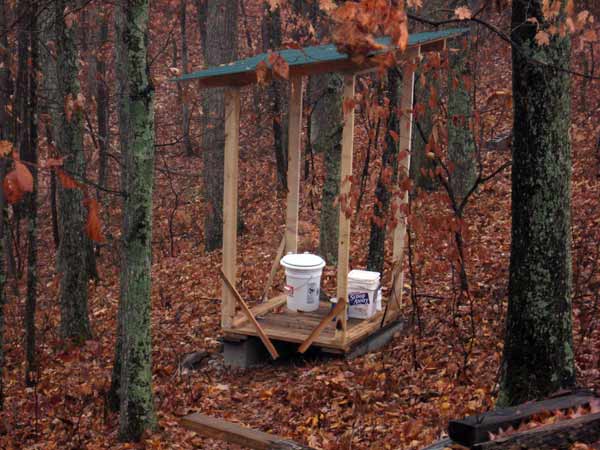
- Outhouse under construction
-
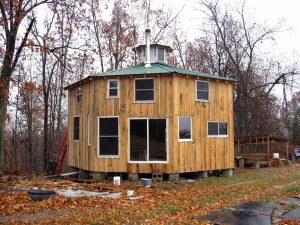
- View from the south